Showing posts with label home baking. Show all posts

Friday, 20 March 2015

Easy Easter Nests

Hello Lovelies, 

It's been a while since I posted, I've been busy doing mummy things and enjoying family days out. Finding time to sit and write posts is really hard but I love doing it so need to find some more time and maybe become a bit more organised. 

Anyway today I thought I would share a really quick Easter recipe that I enjoy making my self and also enjoyed sharing with children when I was teaching. 


You will need: 
Any brand of shredded wheat 
400g of chocolate (200g for a small batch) 
Mini eggs 
Fluffy chicks (optional) I picked mine up from hobby craft but you can get them just about anywhere 
Hoppy bunny cadburys chocolate 
Bun cases 
Bun tray or plate

Prep: place bun cases into the bun tray so they are ready to go. 


1. Break up the shredded wheat until you are left with small nest like bits. 

2. Melt the chocolate, either over hot water or in the microwave. I started with water and then didn't have the patience so blasted it in the microwave. I did this for about 20 seconds a time so it didn't burn or go grainy. 

3. Pour the shredded wheat into the chocolate a little at a time and stir. Continue doing this until most of the chocolate has covered the shredded wheat. 

4. Spoon the mix into bun cases until they are full. 

5. Whilst the choc is still melted pop an egg, square of hoppy bunny choc or a combination on the top. 

6.  Pop in the fridge to set the chocolate. 

7. Enjoy!! 


I know not everyone reading this will have children or make these with children. But if you are I thought I would include  a quick side note on why I used this within my teaching. 

When making these nest buns there were a lot of things that I could discuss with the children. These include melting and setting (science), eggs and chickens (science) and the story of Easter and why some people celebrate. 

Let me know if you have any other Easter bakes. I have another chocolate treat coming up soon. 


xx

Monday, 9 February 2015

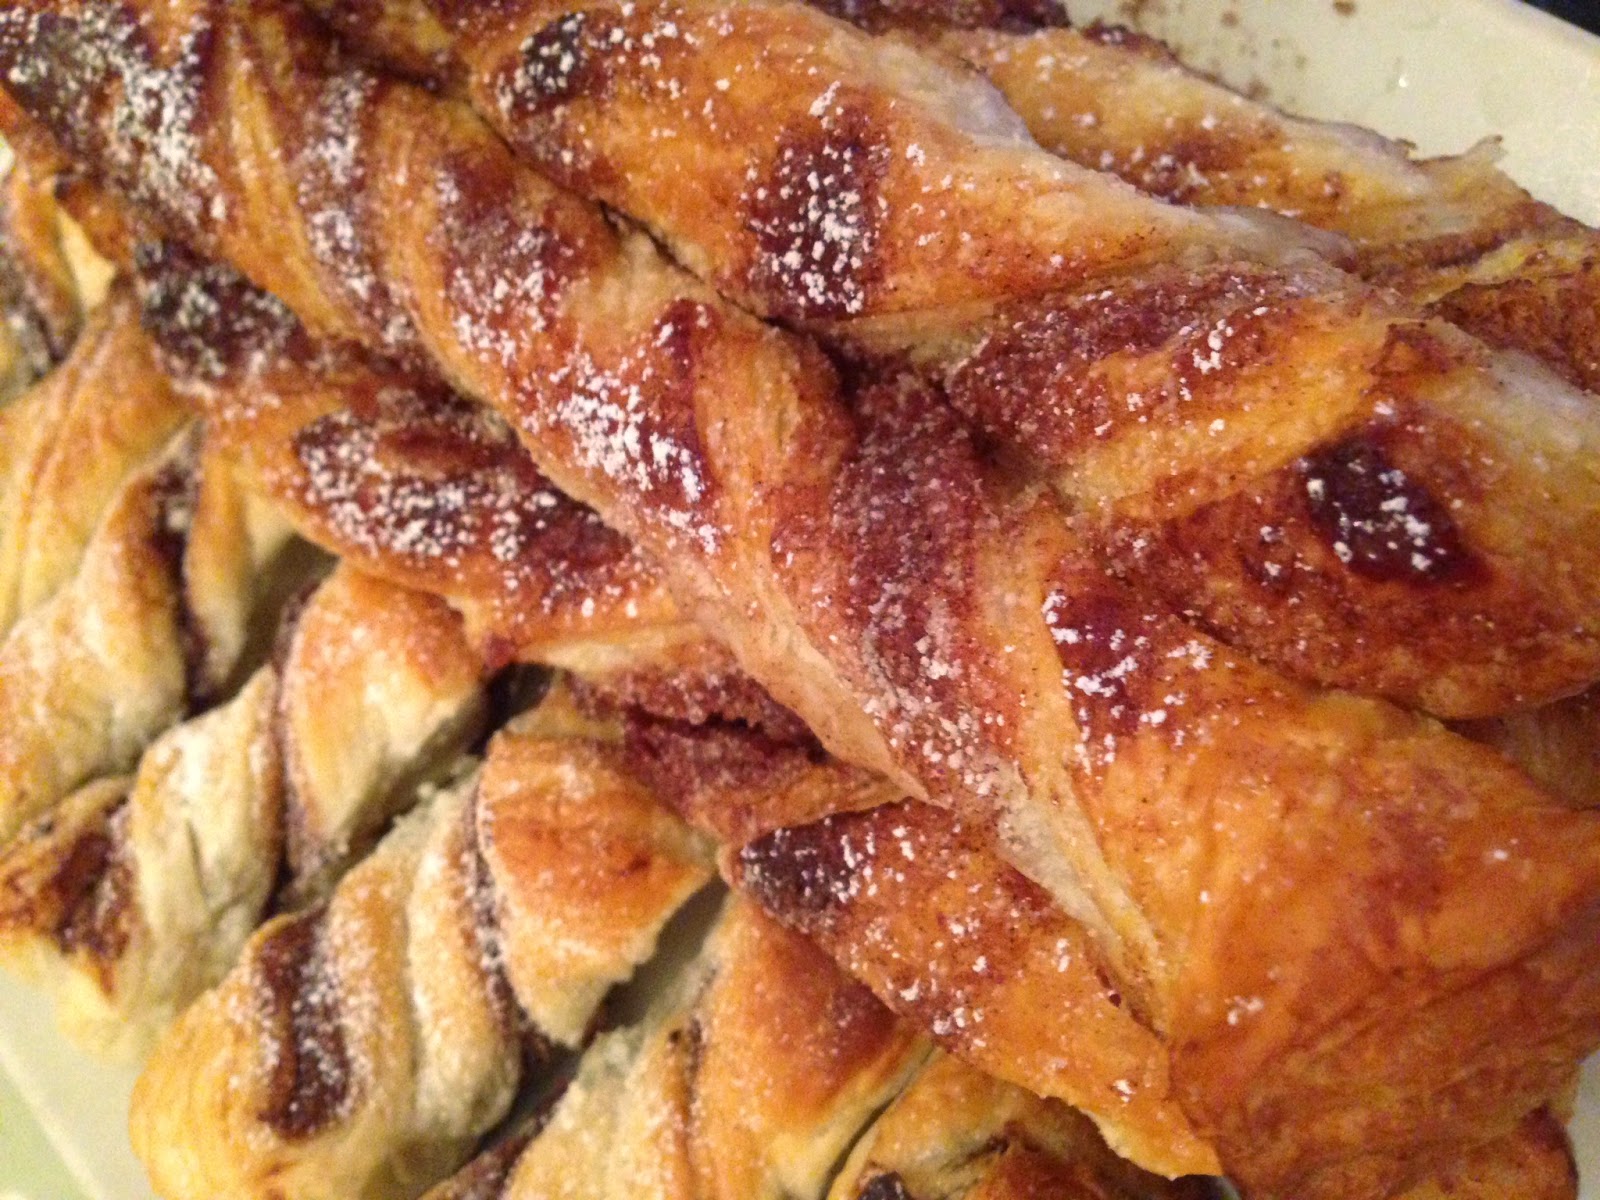
Quick Twists Recipe

Hello Lovelies, 

It's a quick impromptu post this evening. Although I am trying to shift the baby weight I couldn't help but have a go at a spot of baking. I had seen the recipe for Cinnamon Twists on a few blogs, I also had a quick look on pinterest as well. I have become slightly obsessed with pinterest my user name is Missbeth90 if you want to follow me (cheeky I know ). 

So I thought I would do my own quick twist on the recipes that I had seen (see what I did there hehe). To make it quicker I didn't make my own puff pastry I bought some in, didn't think that I would have the time to make it with having a new born. 

Here's a quick step by step for each recipe.

Preheat the oven at 200 degrees C for both recipes.


The ingredients that I used are:
  • Jus-Rol low fat puff pastry 
  • Nutella 
  • Butter (around 100g)
  • Cinnamon (2 tablespoons ish)
  • Granulated Sugar (3 tablespoons ish) 


Nutella twists: 
  • Cut off around 1/4 of the pastry which is already rolled
  • Spread as much nutella as you want on 1/2 of the pastry leaving the other half plain 
  • Fold pasty over so the nutella is sandwiched 
  • Cut into 1" (ish) thick stripes 
  • Then twist holding both the top and bottom of each strip   
  • Bake in the oven for 10-15 mins or until golden brown 
Cinnamon Twists:
  • Melt the butter either in a pan or a microwavable bowl in the microwave
  • Brush the butter (leave a little for the top) over the remaining pastry
  • Mix sugar and cinnamon in a separate bowl
  • Sprinkle sugar and cinnamon over the butter (again leaving some for the top)
  • Cut pastry into strips and twist. I didn't fold it this time to make them longer. 
  • Brush the tops of the twists with butter and sprinkle the remaining sugar and cinnamon.
  • Bake in the oven for 15-20 mins or until golden brown   


Let me know if you have a go or have any other ideas for fillings. 

Enjoy!! :D

xx

Thursday, 4 December 2014

Chocolate Chunk Cupcakes

Happy Thursday Lovelies, 

This weekend it was my Sister in laws birthday, we spent the weekend visiting Welbeck open art studios and baking cupcakes. 
We had to use an american recipe for the cupcakes as Sannie did not have any weighing scales and I didn't take mine. I will list the recipe that we used and a recipe with measurements in grams as well. 

Cups 

  • 1 cup of unsalted butter
  • 1 cup of caster sugar 
  • 2 and 1/2 cups of self-raising flour
  • 3 eggs 
  • 1/2 cup of milk 
  • 1 teaspoon of baking powder


Grams 

  • 150g unsalted butter 
  • 150g caster sugar
  • 150g self-raising flour 
  • 3 eggs
  • 1 teaspoon of baking powder 
You can add any flavouring to the mixtures, we chopped up a cheap chocolate bar to make choc chunks and added these. 


Method
  1. Preheat oven to 180 degrees F
  2. Place bun/muffin cases into a muffin tin 
  3. Cream the butter and sugar
  4. Mix in eggs and flour a little at a time 
  5. Add baking powder and mix
  6. Mix in chopped chocolate   
  7. Spoon mixture into cases 
  8. Place in oven for 10-12 mins or until golden brown on top
  9. Place cupcakes on a cooling wire and leave to fully cool 
  10. The fun part DECORATING time!! 
We forgot to add baking powder ooops!!


To decorate the cupcakes we cheated and bough Dr. Oetker chocolate icing in a can.(I would highly recommend this if you are not to keen on having to wash a lot of dishes) I did find that the can only decorated around 8 cupcakes though. 

For toppings we used Asda's own popping candy and chocolate toppings which included; white chocolate stars, white, dark and milk choc covered cereal, milk choc covered toffee pieces and brownie pieces. 

We also had a bag of matchsticks, I found that I ate more of these than I used for decorating haha. 

This was the result!!


Nearer Christmas I will hopefully be doing more Christmas themed baking, as long as I have the time and energy. Baby is definitely taking up a lot of energy at the minute and when he's here I'm sure I will be very busy, but I will hopefully have more mummy and baby posts :D.   

Let me know if you have a go at making your own cakes or any cheats that you have for decorating. 

xx


Wednesday, 15 January 2014

Jam Making


Hello Lovelies, 
This weekend as well as going for a family walk I spent some time with Momma Bear making jam. 
This is the first time that either of us have made jam, I was so excited. 
We used the Kilner equipment that I had been given for my birthday. 
After looking through my book we decided that we would make apricot jam, we bought the ingredients that we needed. 
Apricots and sugar, luckily the apricots were on offer, we needed 900g of each.  
All jars that we used we sterilised by washing them and then drying them at 160 degrees in the oven for 10 minutes.

 The first step was to cut the apricots in half and remove the pips. I was so tempted to eat some but we only just had enough, they just looked so tasty.  
We cut the apricots into smaller pieces,  then added 150ml of water and simmered the fruit down by 1/3. 


The next step was to add the sugar, 900g is ALOT of sugar, our little scales needed filling twice. 
The sugar was then added to the fruit, the ingredients were then boiled to 105 degrees. This seemed to take forever. 


Once the ingredients reached 105 degrees we used the funnel to pour the jam into the sterilised  jars, the funnel really helped I think the jam would have ended up everywhere without it. If you are doing this at home please be really careful because the jar and the jam are extremely hot.  


 We placed a wax seal on top of the jam to prevent any bacteria getting to it and left it to cool. Whilst waiting for it to cool we made lemon curd, I believe Momma Bear will be blogging this so go and check it out at Two Bones and a Bagel 
When the jam was cool a cellophane seal was placed on top of the jar with an elastic band to keep it secure. 
The jam is currently sat in my cupboard waiting to be opened. 
For a first attempt at jam making I don't think we did too bad, I hope this has been helpful if you are planning on making your own jam. 
If anyone has any interesting recipes or questions about this post please leave a comment I would love to hear from you. 
Thanks for the read. 

xx